Should You Replace the Sink and Faucet With a New Countertop in Lexington?
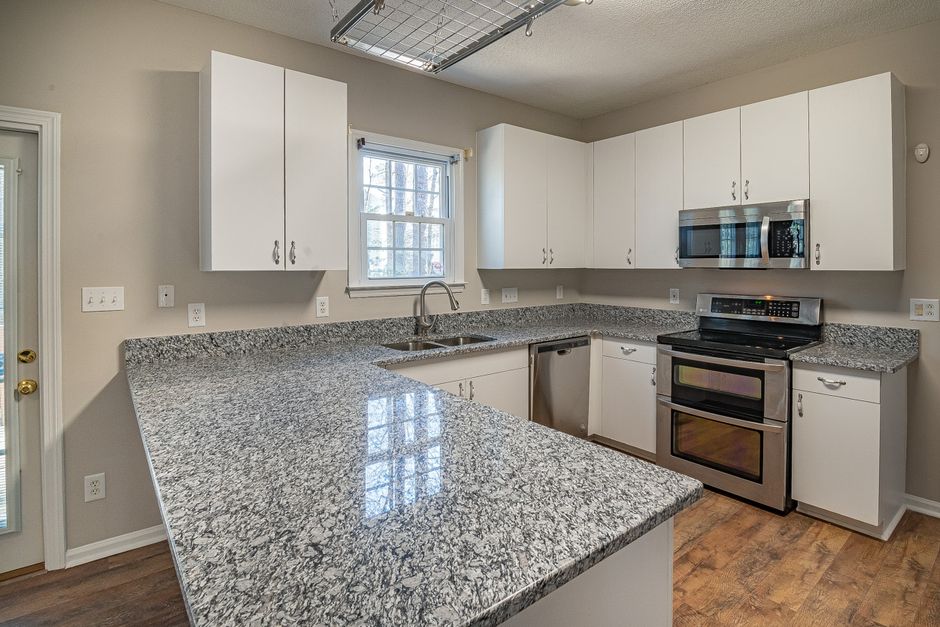
Replace the sink and faucet when you replace the countertop if the sink is an undermount, if the faucet is old or crusted with hard water scale, or if you want a different sink style. Reuse them only when they are in good shape and fit the new top. No rule says you must replace both, but the countertop job is the one moment when changing them costs the least effort.
Why the Timing Matters So Much
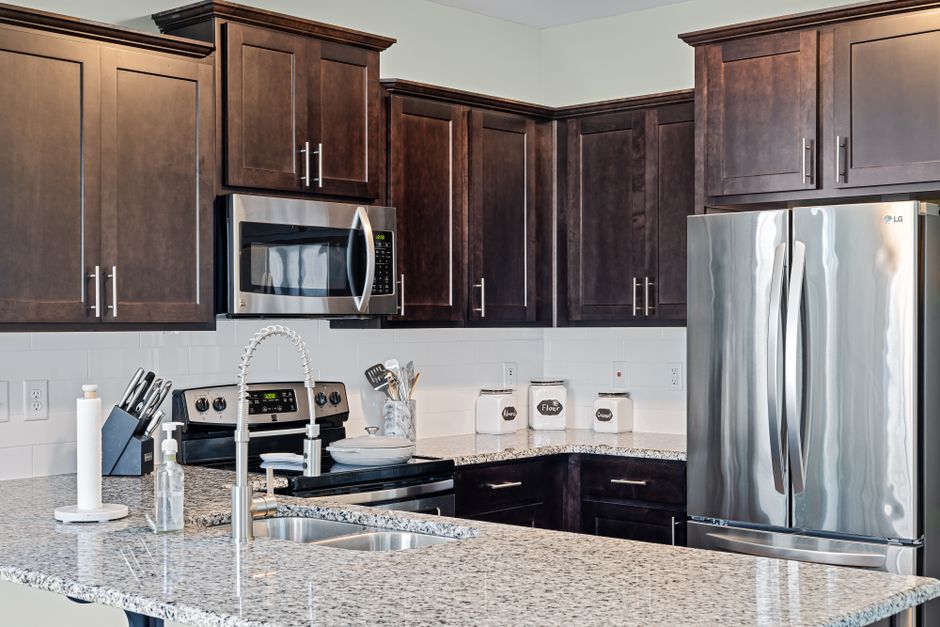
A sink and a countertop are fitted to each other. The cutout is made in the fabrication shop from the sink you choose, and the faucet holes are drilled to match your plan. Once the new top is installed, changing either one can mean cutting or replacing the stone.
In Lexington, where the plumbing has to be disconnected for tearout anyway, the extra labor to install a new faucet is small. The decision is mostly about what you want and what the new top will allow.
Start With the Sink Type
Undermount sinks must be chosen first
An undermount sink hangs below the countertop, so it has to be picked before fabrication. Most shops want the actual sink, or its exact cutout template, on site at the template appointment. Swapping an undermount later usually means pulling or recutting the top.
A drop-in sink cannot become an undermount
A drop-in sink has a rim designed to sit on top of the counter. It can go back into a new stone or solid surface top, but it cannot be converted to undermount. If you want the wipe-straight-into-the-sink look, you need a sink made for undermounting.
Solid surface offers an integrated option
With a solid surface material such as Corian or Avonite, the sink can be made of the same material and seamed into the top so it reads as one piece. That option exists only at fabrication. It cannot be added to an existing top.
Be careful with butcher block
Butcher block around a sink is vulnerable to standing water. An undermount in wood needs the cutout edges thoroughly sealed and kept sealed. Many installers recommend a drop-in sink, or keeping wood away from the sink run entirely.
When Reusing the Sink and Faucet Makes Sense
Keeping what you have is reasonable when all four of these are true:
- The sink is a drop-in going into a cutout sized for it.
- The faucet fits the new deck thickness.
- The hole count matches the new plan.
- Neither shows chips, corrosion, or worn cartridges.
If any one fails, replacement is usually the better path. A thick stone top, or one with a built-up edge, can be too deep for the mounting shank on some faucets, especially older ones. Check the maximum deck thickness on the spec sheet before you commit to reusing a faucet.
Count Every Hole Before Templating
Faucet and accessory holes are drilled in the shop. List everything you want at the sink:
- The faucet itself
- A side sprayer
- A soap dispenser
- A filtered water tap
- An air gap, if your dishwasher setup uses one
Covering an unwanted hole takes a deck plate or an extra accessory. Adding a hole in stone after installation is risky, especially near the cutout edge. This matters for engineered stone too. It contains crystalline silica (silicon dioxide), and dry cutting or grinding releases dust linked to silicosis. Cutouts and holes should be made with water suppression and proper controls, ideally in the shop. That is one more reason to finalize the sink and faucet before fabrication rather than drilling on site.
Lexington Water and the Filtration Question
Lexington sits on limestone bedrock in the Bluegrass region, and the tap water tends to be hard. Many households here add under-sink filtration or a separate drinking water tap. Decide on that now so the hole is drilled and the cabinet space is planned. Do not count on drilling one later.
Hard water also affects the old hardware. Mounting nuts and supply connections on older faucets are often mineral-crusted and fight removal. When the plumbing is already coming apart, a new faucet is the easy choice.
Replace the Parts Under the Sink While It Is Open
The tearout exposes the plumbing that rarely gets attention. Two upgrades are worth doing now:
- Shutoff valves. Older multi-turn valves that have not been touched in years often fail to close fully or start leaking once turned. Quarter turn valves are the common upgrade.
- Flexible supply lines. Old lines, especially ones with corroded fittings or bulging braid, are a common source of sudden cabinet floods.
If you have a garbage disposal, remember it mounts to the sink's drain flange. A new sink may need a new flange or mounting assembly, and the disposal can be reused only if it fits the new bowl depth and drain layout.
Measure Before You Order
The cabinet interior
Measure the interior width of the sink base cabinet, not just the door opening. The sink and its clips or brackets must clear the cabinet sides and the face frame of the kitchen cabinet.
The drain height
A deeper sink drops the drain outlet lower. Measure the height of the drain pipe where it leaves the wall. If a deep sink plus a disposal sits below that pipe, the trap will not drain properly without rerouting the drain in the wall.
Faucet reach
Match the spout reach to the sink. The stream should land near the center of the bowl, or over the drain on an offset drain sink. A larger new sink often makes an old faucet look and work wrong.
Plan for the Weight
Heavy sinks such as cast iron, fireclay, or large double bowls in stone need real support. That means clips or anchors bonded to the stone, and often rails or brackets fastened to the cabinet. Ask the installer how the sink will be held. Adhesive alone is not enough.
The same thinking applies to the dishwasher. Many are screwed up into the underside of a laminate top. That cannot be done with stone or engineered stone, so plan for side mounting brackets fastened to the adjacent cabinets.
Choose the Reveal Now
The reveal is how the sink edge sits relative to the stone:
- Positive reveal: a little sink rim shows.
- Negative reveal: a little stone overhangs the sink.
- Flush: the edges are even.
Each is cut differently, and the choice cannot easily be changed afterward.
Check What the Old Top Was Hiding
With the countertop off and the cabinet empty, look closely at the sink base.
The cabinet floor
Swollen or stained particleboard from a slow leak should be repaired or replaced before a heavy new top goes on. A new countertop does not fix a soft or sagging base.
Pipes on exterior walls
Many Lexington ranch and split level homes were built on crawlspaces, and many sinks sit on exterior walls. Look at the supply pipes in that wall and under the floor for missing insulation or past freeze damage. Winter cold snaps here can freeze pipes in exposed spots.
Use the Right Sealant on Natural Stone
Standard plumber's putty can leave oily stains in porous natural stone such as marble and some granites. Use a putty labeled stone safe, or silicone, for drain flanges and faucet bases.
The Right Order of Work
- Choose the sink and faucet.
- Get the spec sheets.
- Have the sink on site for templating.
- Fabrication.
- Installation of the top.
- Plumbing hookup, after any adhesive or sink clips have cured, as the installer directs.
Keep the Seal Healthy Afterward
The silicone bead between an undermount sink and the countertop is a maintenance item, not a lifetime fixture. Check it at least yearly for gaps, peeling, or dark mold, and reseal when it fails. A failed bead lets water reach the clips and the cabinet below. Quartz products from makers such as Cambria are durable, but the joint around the sink still needs your attention.